

If you want to see it, click on read more (highly recommended)
You should think that, but Mr. Night Fury. If it’s so important, then why are you just blabber about it, why don’t you tell it already. Well, this took me so much time to make, that I wanted to give a good intro. But enough talking, let’s get into business.
So in this episode, I’m gonna talk about the creating process of the rock formations in the cove. I originally wanted to get over with in a single post, but as I kept doing it, and progress ahead, I decided, that I will separate out at least in two parts. So in this episode I will talk about how I made the rock formations IN the cove. The larger boulders that surrounds the cove, will be discussed in the next update. This will be not that technical like the previous one was, cause I didn’t face any difficulties in the editor. Also I won’t talk about most of the failed attempts, cause the post would be more than 10 pages long, if I wrote every little fix I made. As you'll look the progression, you would think, that I did everything in one go, but that is not true. I’ll write a short synopsis about the changes at the end of the post.
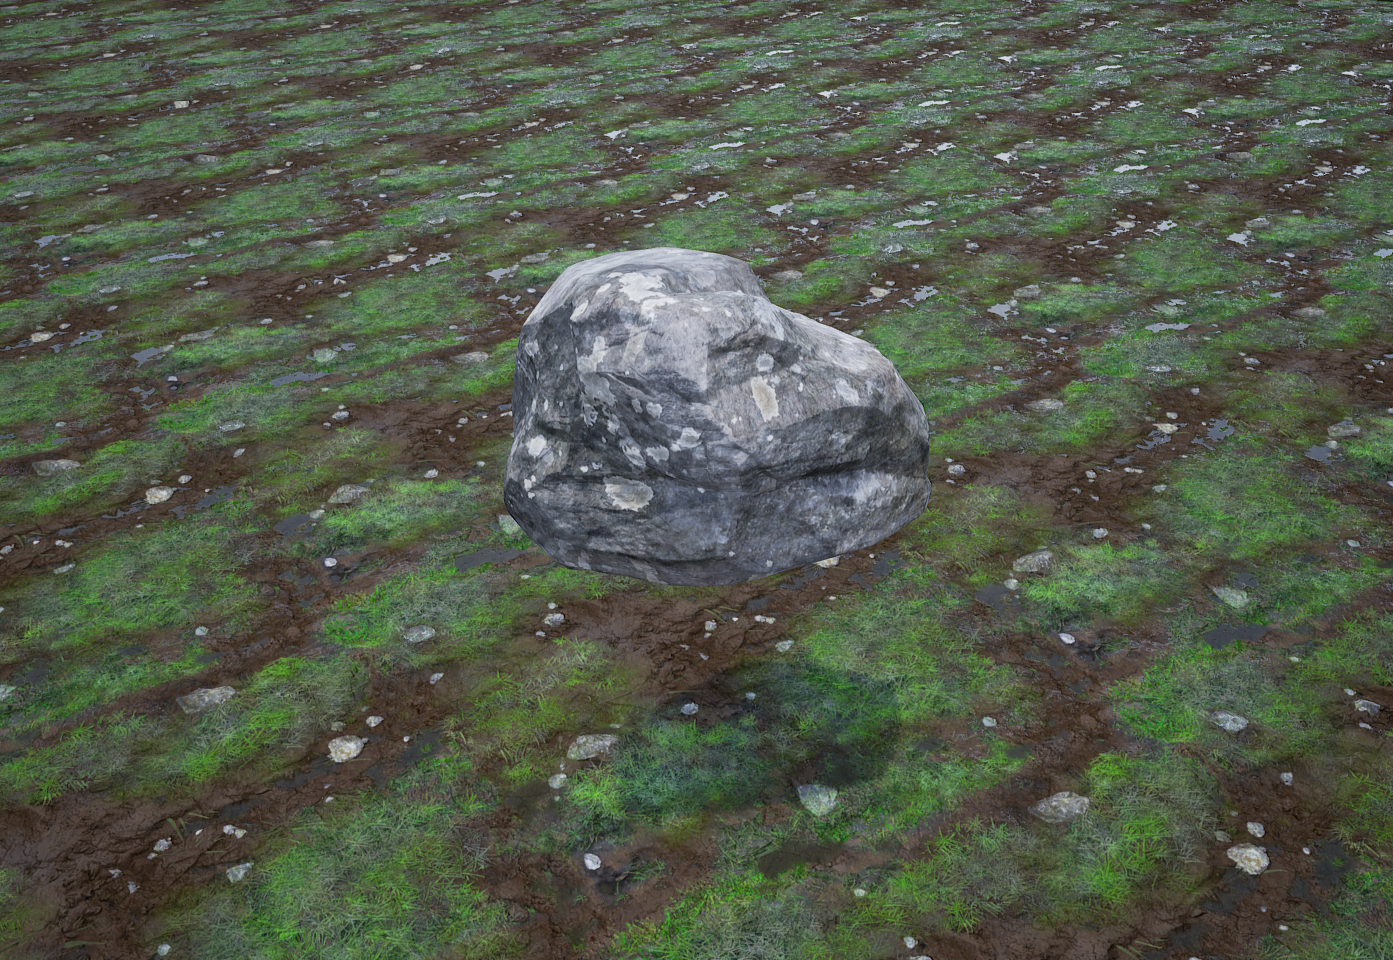
So. I talked about this neat little expansion pack in my „Texturing the cove” post. This pack also has rock models with very awesome textures on it. Believe or not, this rock model is so amazingly well done, that this is the only model I used on the whole map! (Yes, I made the large border rocks with this, but that is for the next post). This is what it looks like.


(If somehow works with this rock material, then it also should on the grass. After I’m done with the boulders, I’ll take look what can I do with it. I don’t think it would be a post on it, maybe it will be a less than a 5 minute work again, like it was in the water shader, but we’ll see).
In this part, I’ll show you how I placed the rocks on the ground. I started with the most noticeable ones.
Now, that the lake got it’s nearly final form, and the cove shape is also getting pretty accurate, I can use images from the film to place the rocks in the Cove. These are also very important as reference marks. This part was tricky, I had to figure it out on 2D images where these rocks are in 3D space. I started with the large ones, which are easily “convertible” to the map. Mostly that are one near to the borders of the cove.

The most tricky part was, to somehow merge the different camera angles and make sure is everything is in place. Often, I struggled with to find it doesn’t really match up the rock layout in one image with another. I spent hours and hours to somehow make the rocks position correct in every angle. I also had to take account, that the different camera angles uses different “lenses” and had to correct and figure out what perspective could be. I went literarly rock by rock studying it's form, then modifying the rock model's shape and place carefully to the scene till it was accurate to the movie.
After I placed most of the larger ones, I started to concentrate on different parts of the Cove. First, I begun with the most sentimental one, where Forbidden Friendship started. I didn’t want to be extremely precise in that state, cause I knew it will change later if I messed up something again, so I was just fairly accurate. Also didn’t done the very minor details yet.

After that, I moved to the location where later Hiccup brings the basket of fish to Toothless. That area was very barren, so it was a good time to fill it up with rocks.

The next one was the most difficult one, the waterfall. There are a lot of rocks there and also this was that particular part of the cove where I kinda messed up the proportions. The rocks were acts as references for me to later fix that mistake.

Next, I moved to the opposite side, near where Toothless burns a patch of ground to take a nap. There are a LOT of rocks, and there will be also a lot of stuff here later, so there will be a lot of construction work to be done in a near future.

Then, I made the rocks which are in the water. Except the very large ones, which are emerging from the water, I’ll make them last, cause there are obscuring the view.

As I mentioned, I wasn’t made this in one go. What you see is the most recent version of the inner rocks. I made my biggest mistake at the waterfall. Because it took so much time to make it, I started to take the perspective from that angle so seriously, that I even modified the terrain to adjust it to the reference image and after I was done and see it from far away, I realized that I made it too large compared to the other areas. That scene used a narrower focal lenght which messed up my "weighted average" field of view, so I had to rearrange everything later (when I did the large boulders). To avoid this problem happening again, I didn't stuck with one area too much after that and I was quite frequently go to one place to another fixing the alignment and made little adjustments here and there.
There are still inaccuracies, but I can’t correct them in this state, cause I’ll need the border rocks and other objects to fix them. Also the terrain is still flat, so that brings up a load of misalignments, but I want to fix the cove proportions first, cause modifying the terrain is very tricky and if you mess up it's very hard to modify it and also will cause a lot of confusion. So first, I just wanted to make all the rocks visible and act as markers to later finalize the maps proportions.
I know it’s far from perfect, but as you can see now, we see the scale of the cove and recognize all the important locations and also where they are exactly.

In the next post I’ll talk about the boulders. It wasn’t as hard as this one, but I’m not saying that it was easy. Sadly, because of their size is so large and the texture is so detailed, with my old video card I faced a significant performance drop, (from avg. 20-25 to 10-15). I hope in the actual game it won’t be like that, cause it will cause some serious issues for those, who can’t afford a high-end PC. And we didn’t have any vegetation yet. (I though Unreal Engine 4 was well optimized, but I have doubts now).
Anyway that’s for next time.
Thank you for reading! See you soon!
No comments:
Post a Comment